

How To Make An App For Iphone And Android
Developing Cross-Platform (Android/iOS) Apps Using a Single Codebase With Flutter
![]()

Hey guys, as we go through another week in quarantine, I thought of deviating from our Scala track (Microservices, IO Monad, Macros) and explore something new & exciting.
With the increasing number of smartphone users, businesses have to focus more on continuously improving their user's app experience. According to a survey by Google, a smartphone user has at a time, around 35 Apps on their device. With the combined App market on Google Play Store & Apple App Store, crossing more than 1M+, it is an increasingly competitive race to gain the top spot.
With the existing practices, developers have to not only write separate code for both Android & iOS (in 2 different languages as well) but also keep updating both to keep up with the latest features. It goes without saying that the developers have to maintain a uniform experience across apps on the 2 different platforms.
Phew ! this seems discouraging enough to anyone thinking about App development or starting an App-based venture. But fear not, Flutter is here to the rescue…
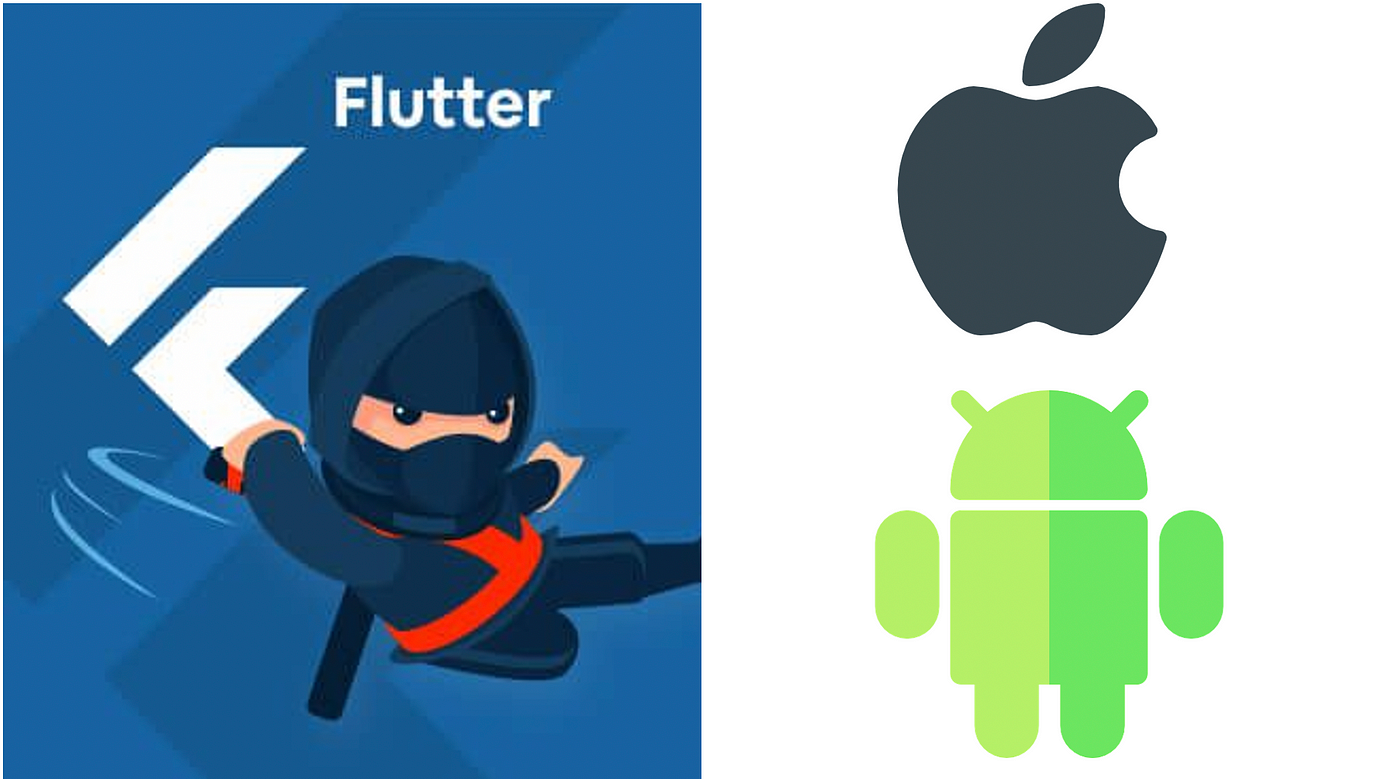
Flutter is Google's mobile UI framework that provides a fast and expressive way for developers to build native apps on both iOS & Android, using a single codebase.
That seems great. But how exactly does it work?
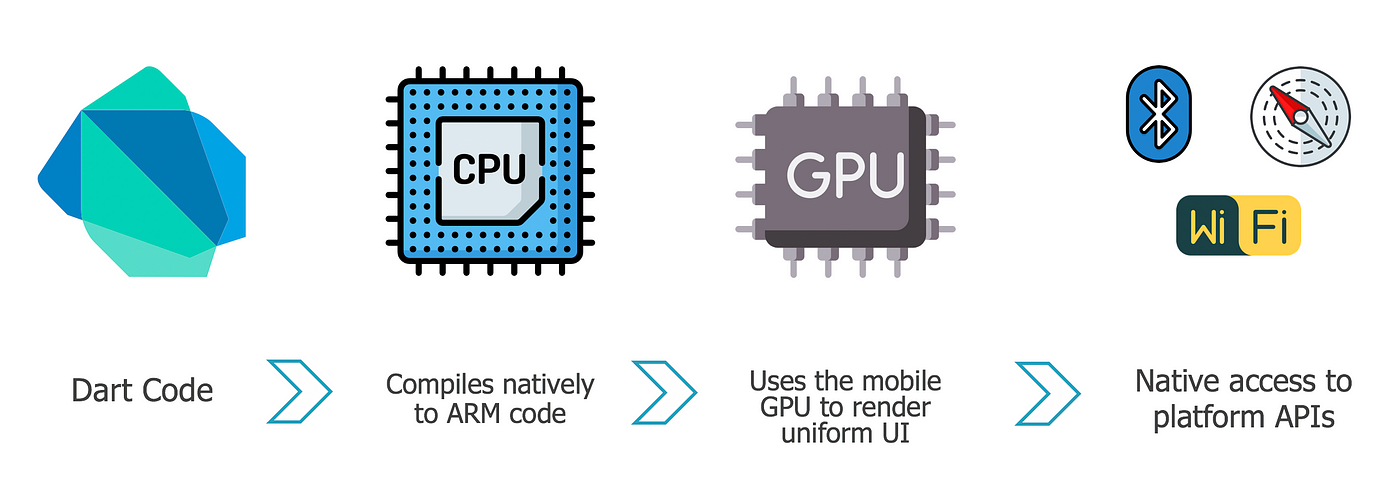
Development in Flutter is done with the Dart programming language (quite similar to any other OOP language). The code gets compiled natively and uses the GPU to render a uniform UI. Moreover, it also has native access to platform APIs such as GPS & Bluetooth.
Also, development is Flutter is mostly just a composition of widgets , which are the building blocks of a Flutter app.
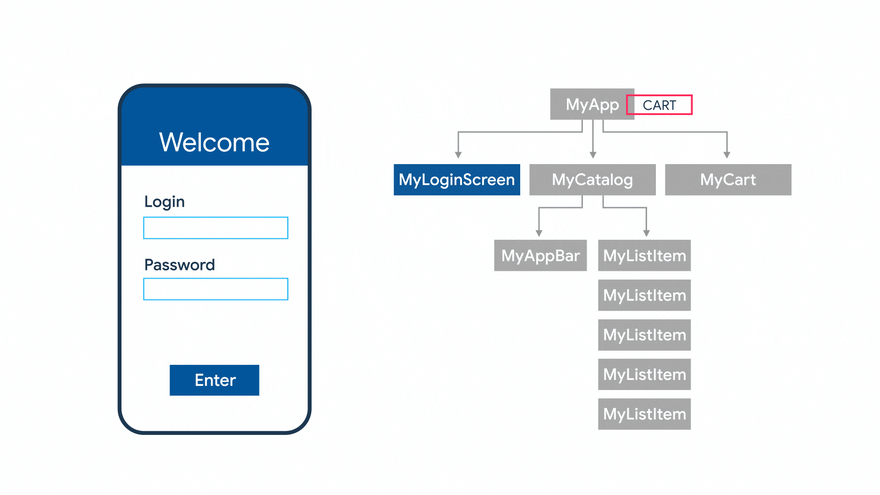
This pattern of widget composition is not only easy and result in faster development cycles, but also widgets developed once can be reused across multiple applications. Moreover, widgets also ensure uniform rendering across Android & iOS devices, and uniform API for developers to access device native services.
I bet you are pretty excited now to develop your first App in Flutter. We'll start off with building a simple clock app. Welcome to the Dart side! (pun intended :P)
I will be using Android Studio for this demo, with the Flutter plugin installed.
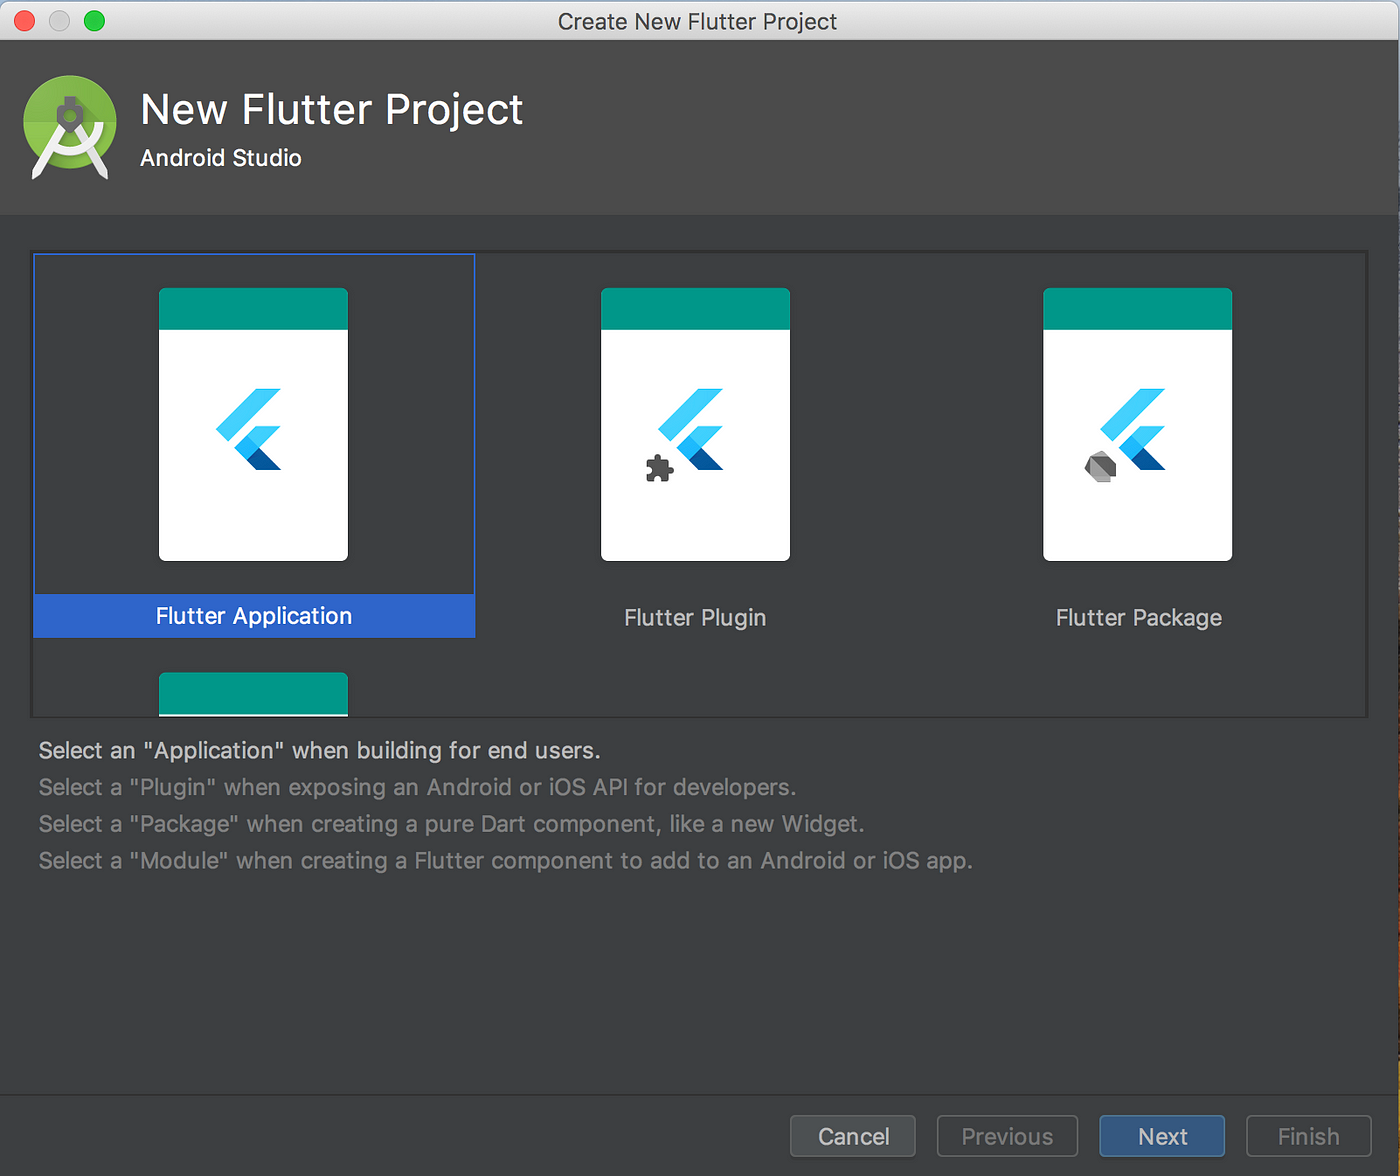
Once you have created a new Flutter project, navigate to the " main.dart" file. In Java terms, this is the class with the main() method.
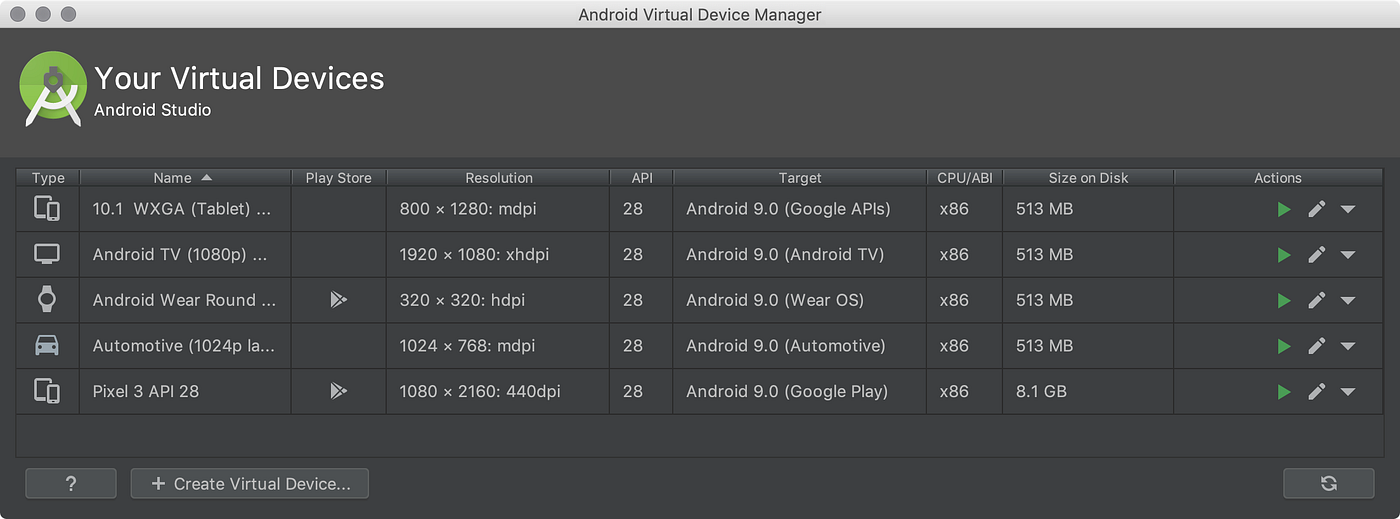
Before starting development, you need to create an Android virtual device as well, which you can do following this link.
Now, we can start some real coding.
We will compose some widgets to get our final app. Considering the brevity of this post, I will be giving only a brief explanation of the widgets, but will link official docs in case you want to learn more. Also, for the same reason, I won't be linking the screenshot of the virtual device after each step, but by trying it out in your own system will make this post much more interactive.
We will start by creating a stateless-widget class called Clock. This is the class where all of our logic for building the app goes. Also, to ensure OOTB integration with material design, we will encapsulate our clock widget in the MaterialApp widget.
The build function of our Clock widget is the one responsible to actually render content on the screen. Since we are returning an empty Container widget here, our app will also render a blank screen on the virtual device.
We will now add the Scaffold widget to introduce layout in our App, and then use the Text widget to render the current time on the screen. To centrally align our render, we will encapsulate the Text widget with the Center widget, and also add some font-style with the style attribute.
If you reload the app, you will be able to see the current time being rendered on the screen. But, there is still one problem: the time is not getting updated. This is because our Clock widget extends the Stateless widget class. To maintain and update the state of the app, we need to extend the Stateful widget class.
Also, we will need to define the initial state using the initState() method, and for updating the time, we will use the Timer.periodic() function. Let's do that:
The Timer.periodic() function here, takes as argument a lambda expression , which is triggered every second and update the state of our App. Now, if you reload the app you will be able to see the time is getting updated every second.
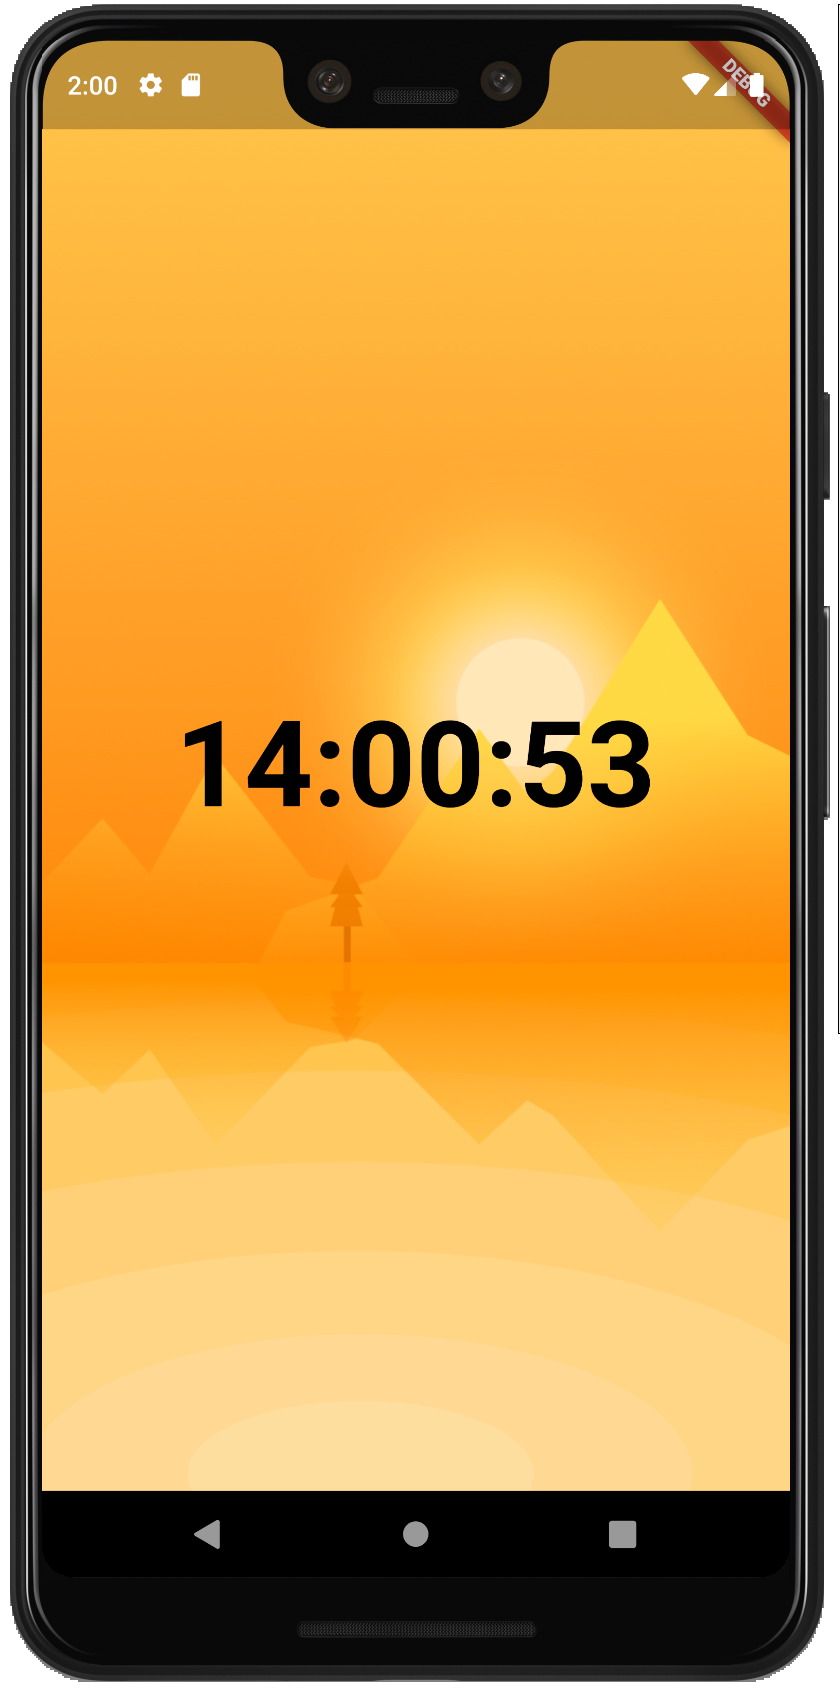
Now lets' go ahead and add a background image as well. But to make this more interesting, let add some logic such that our app changes its background based on the time of the day.
We will first need to add the images in the assets folder at the root and update the assets key in the pubspec.yaml file. This file is similar to your package.json file in a Node project. Here, I'm adding 2 images for the day and night time.
Now let's do the final step of selecting the background image based on the current time, and use the BoxDecoration widget to render it as the background of our Container widget.
And we are done. Now if you reload the app, you must see our clock rendered on the screen with the appropriate background according to the current time.
I hope this post will help you in kick-starting app development in Flutter and you can apply the same principles for your next app.
Until next time, Ciao !!
How To Make An App For Iphone And Android
Source: https://medium.com/walmartglobaltech/developing-cross-platform-android-ios-apps-using-a-single-codebase-with-flutter-f380ff15303a
Posted by: wagonerhilike.blogspot.com
0 Response to "How To Make An App For Iphone And Android"
Post a Comment